Trézor.io/Start® | Starting Up Your Device – Trézor®
In the rapidly expanding world of digital assets, keeping your cryptocurrencies safe is no longer optional—it’s essential. Trézor® is one of the most trusted names in crypto security, offering hardware wallets that give users complete control of their private keys. If you’ve just unboxed your Trézor device and are ready to get started, visiting Trézor.io/Start® is your official first step.
This comprehensive guide walks you through the process of setting up your Trézor hardware wallet from start to finish, using Trézor.io/Start® as your starting point. Whether you’re using the Trézor Model One or the Trézor Model T, the setup process ensures your wallet is both secure and personalized.
What Is Trézor.io/Start®?
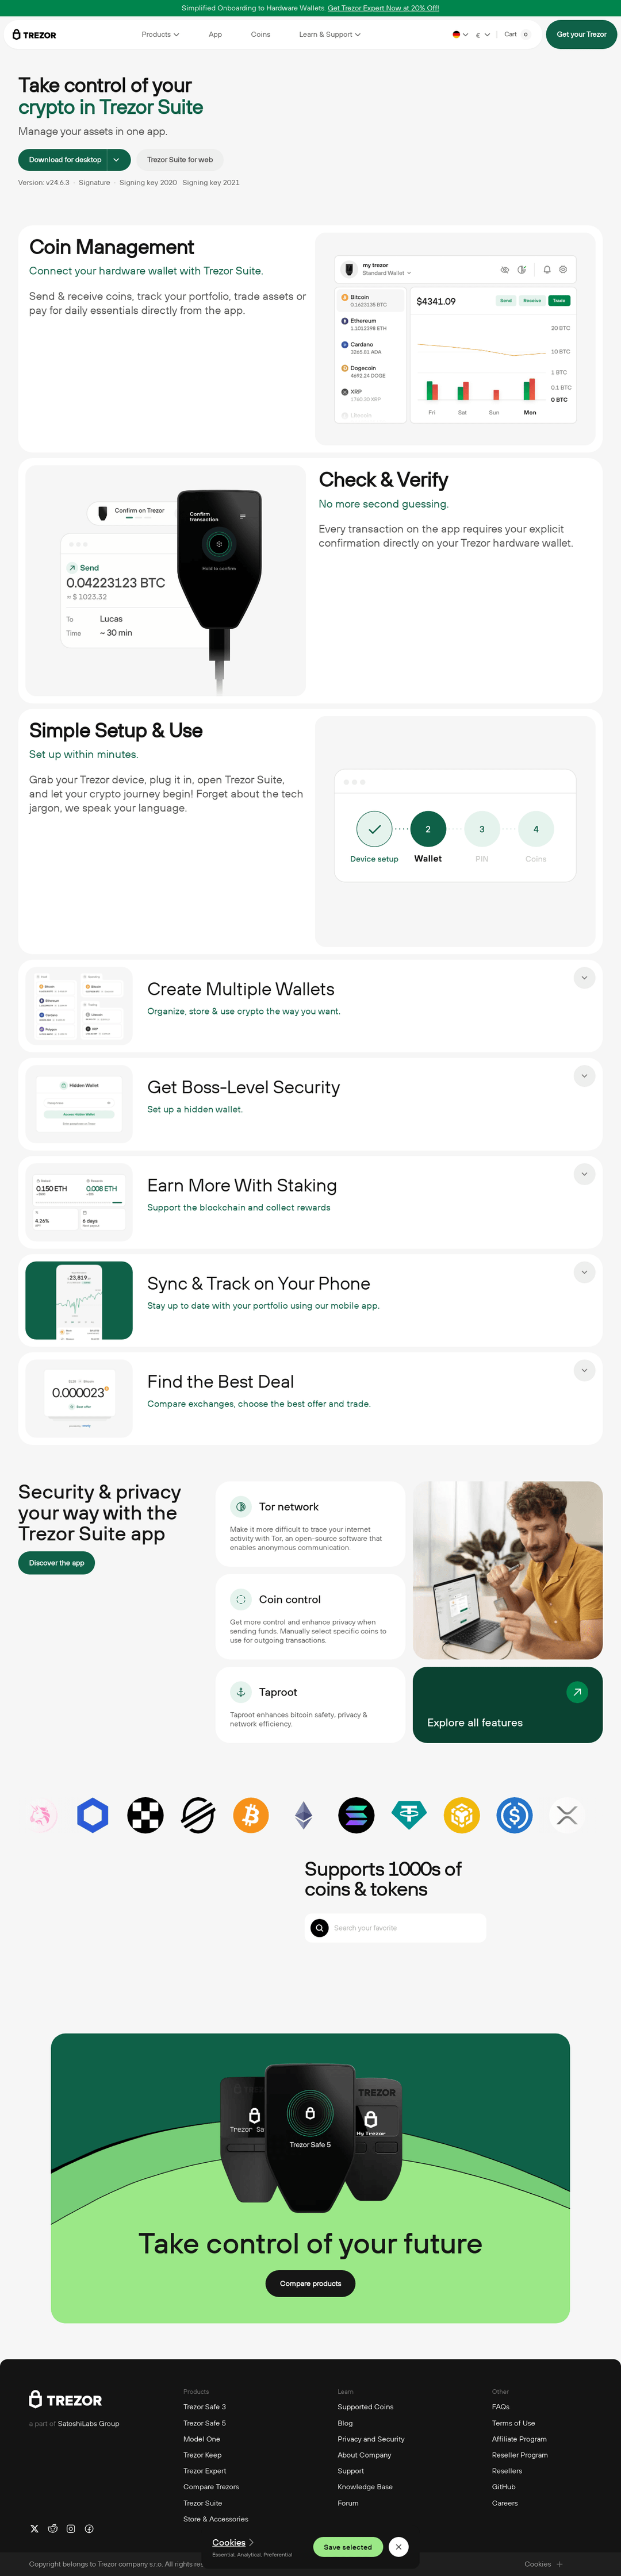
Trézor.io/Start® is the official onboarding and setup portal for all Trézor hardware wallets. It connects you directly to Trézor Suite—the official app for managing your crypto securely. By guiding users through a secure, step-by-step setup process, it ensures your device is genuine, up-to-date, and properly configured.
Using this portal helps you:
- Verify the authenticity of your device
- Install the latest firmware
- Create or recover a wallet
- Learn basic security practices
Never use third-party links or unofficial sites. Always type the URL directly or scan the QR code from the official Trézor packaging.
Step-by-Step: Starting Your Trézor Device
Here’s a breakdown of what you’ll do when you begin at Trézor.io/Start®:
1. Connect Your Trézor
Use the supplied USB cable to plug your Trézor Model One or Model T into your computer.
If using the Model T, interact with the touchscreen display. For the Model One, you’ll use the physical buttons.2. Download Trezor Suite
You’ll be prompted to download Trezor Suite, which is available for Windows, macOS, and Linux. This is the official software interface used to interact with your device.
You can also use the web version, but the desktop app is recommended for long-term use and better security.3. Install Firmware
If your device is brand new, it will arrive without firmware pre-installed. Trezor Suite will guide you through the process of securely installing the latest firmware, ensuring you’re protected with the most up-to-date security features.
4. Create a New Wallet
After firmware installation, you’ll be prompted to create a new wallet. This generates a recovery seed (typically 12 or 24 words). This is the most important part of your crypto security.
- Write down the recovery phrase on paper.
- Never store it digitally or online.
- Never share it with anyone.
5. Set a PIN
Next, you’ll set a secure PIN code to prevent unauthorized access to your device. This is required every time you connect the device to your computer.
6. (Optional) Enable Passphrase
Advanced users can enable an additional passphrase feature. This acts as a “25th word” and gives access to hidden wallets. It adds an extra layer of protection even if your recovery phrase is compromised.
Why Start with Trézor.io/Start®?
Here’s why using Trézor.io/Start® is critical for new users:
- ✅ Genuine Device Verification
Ensures your wallet hasn’t been tampered with. - ✅ Official Firmware Installation
Get the latest security patches directly from the source. - ✅ User Education
Learn how to avoid scams and securely manage your crypto. - ✅ Complete Control of Private Keys
Your keys stay offline, in your hands only.
After Setup: What You Can Do with Trézor Suite
Once setup is complete, you can use Trézor Suite to:
- 📊 Manage Portfolio – View balances and transaction history across supported coins.
- 🔄 Send & Receive – Securely send or receive crypto with full transaction verification.
- 💱 Swap Assets – Exchange between cryptocurrencies using integrated third-party services.
- 🛡️ Check Device Security – Regularly update firmware and access the Security Center.
- 🧩 Connect to dApps – Use your Trezor wallet with Web3 platforms via browser integrations.
Supported Cryptocurrencies
Trézor supports a wide range of assets, including:
- Bitcoin (BTC)
- Ethereum (ETH) & ERC-20 tokens
- Litecoin (LTC)
- Dash, Zcash, Cardano, and more
You can also install and manage multiple wallets for different accounts or purposes.
Final Tips for New Trézor Users
- Always double-check URLs. Only use official Trezor domains.
- Keep your seed phrase offline and safe. This is your only backup.
- Never trust browser extensions or unsolicited emails. Trézor support will never contact you directly.
- Regularly check for firmware updates. Stay current to keep your device secure.
Conclusion
Getting started with your Trézor hardware wallet begins at one place: Trézor.io/Start®. This official setup portal is designed to ensure your crypto journey begins safely and correctly, putting you in full control of your digital assets.
In just a few steps, you’ll transform your device from an empty wallet to a powerful vault for managing, storing, and securing your cryptocurrency—backed by one of the most respected names in blockchain security.